How to iron Hama beads correctly — step by step
Wrong temperature or too little time can ruin hours of bead work. Step-by-step guide to ironing your beads correctly — first time, every time.
Ironing is where it goes wrong — or where the magic happens
You've placed every bead. The pattern looks great. Now comes the nerve-wracking part: the iron. Wrong temperature, too little or too much pressure, the wrong paper — any of the three can ruin hours of work. Here are the keys to getting it right every time.
What you need
- The finished bead piece still on the pegboard
- An iron (no steam preferred)
- Baking paper (the regular kind from the kitchen — NOT waxed parchment)
- A flat surface (ironing board or counter with a towel underneath)
Step 1: Set the iron
Set the iron to medium heat — around 150°C (300°F), or the "wool"/"polyester" setting. Turn off steam. Too hot melts the beads too much and the holes disappear; too cold and they don't fuse and fall apart.
Let the iron fully heat up before you start. Test by laying baking paper on a board for 5 seconds — it should feel warm but not burn.
Step 2: Lay the baking paper on top
Place a sheet of baking paper over the beads, covering the entire board. The paper should be smooth, not wrinkled, and extend a couple of centimeters past the edge of the board — so you never touch the beads directly with the iron.
Step 3: Iron for 10-15 seconds
Place the iron on the paper with light pressure — as if ironing a delicate shirt. Move it gently in circles or back and forth for 10-15 seconds.
You'll hear a small "clicking" sound as the beads start to fuse. Look through the baking paper — you should see the beads flatten slightly and become shiny on top.
Step 4: Check before continuing
Gently lift the baking paper and look. If some beads haven't fused yet, replace the paper and give it another 5-10 seconds. Better to under-iron than over-iron — you can always go back, but you can't undo over-melting.
Step 5: Let it cool
When you're done, let the board sit for at least 2-3 minutes before touching it. The plastic is hot and bendable right now, and the beads can warp if you pull too soon.
Step 6: Flip and iron the back (optional)
If you want an extra-stable result, flip the board — the finished bead piece is now on top — and repeat the process on the back for 5-10 seconds. This gives a beautiful, double-sided fusion.
Common mistakes — and how to avoid them
- The holes disappear: too hot. Turn it down.
- The beads fall apart: not enough time. Iron longer.
- Burnt smell: stop immediately. You've overheated.
- The beads stick to the paper: you used waxed parchment. Next time, regular baking paper.
The most important tip
Always test with 5-10 beads on your own pegboard the first time you iron. Different irons, bead brands and room temperatures give small differences. Find your own "perfect time" and note it down — so you don't have to guess every time.
Practice ironing on an easy pattern
Start with a small, simple motif while you find your perfect ironing time:
 Lille glad bi
 Regnbuekat
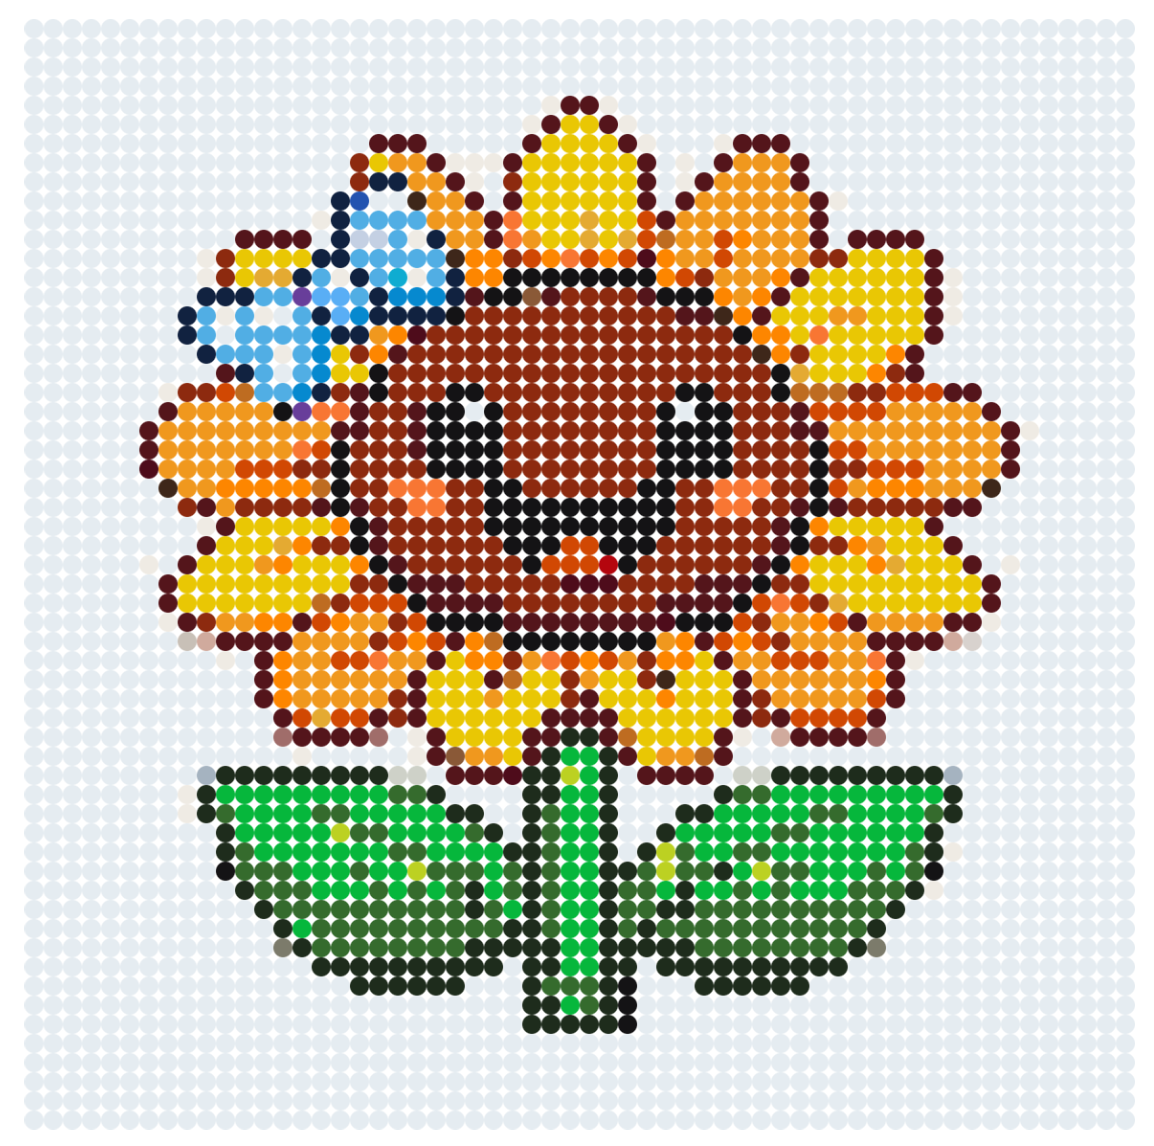 Glad solsikke med smil